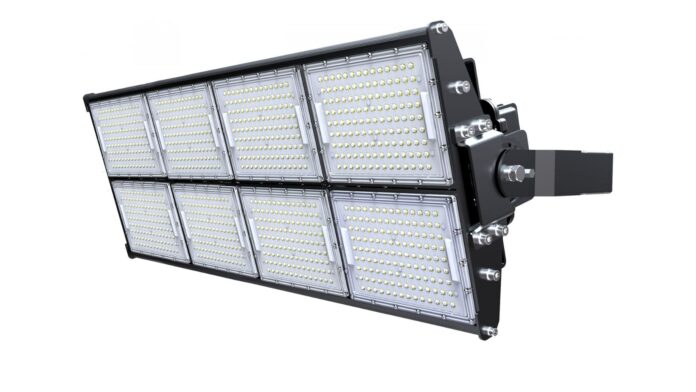
So, if you need bright and energy-efficient lighting for your outdoor space, consider investing in high-quality LED flood lights! LED flood lights are a great way to light up a large area. They are an excellent choice for home and business owners. Because they generate very little heat, LED flood lights are ideal for outdoor use, where it can be challenging to dissipate excess heat effectively. And unlike traditional bulbs, which typically last only a few hundred hours.
LED bulbs can last for many years with proper care and maintenance. Installing LED Flood Lights is not difficult, but there are a few things you need to know before you get started. In this blog post, we will walk you through the process of installing LED floodlights step-by-step.
What Is An LED Flood Light?
LED flood lights are a type of lighting that is designed to illuminate large outdoor spaces such as parks, sports facilities, and parking lots. Unlike standard incandescent or halogen bulbs, LED flood lights use light-emitting diodes (LEDs) as their light source. These tiny LEDs produce bright white light that is much more energy efficient than other types of lighting.
Flood Light Installation Process
Step 1: Choose the Right Location
The first step in installing your LED flood lights is to choose the correct location. You’ll want to pick a spot that is high enough off the ground to prevent people from tampering with the light but low enough that you can reach it if you need to make repairs. It’s also essential to pick a spot close to an electrical outlet to plug in the light easily.
Step 2: Drill Holes for The Mounting Bracket
Once you have chosen the perfect spot for your LED flood light, drill two holes in the selected location. These holes will be used to mount the bracket that holds the light in place.
Step 3: Attach the Mounting Bracket
Next, take the mounting bracket and attach it to the wall using the screws and anchors. Ensure the bracket is level so your light will hang evenly.
Step 4: Hang the Light Fixture
Now it’s time to hang your LED light fixture on the mounting bracket. First, connect the wires at the back of the fixture to those coming out of the wall. Once they are connected, carefully slide the fixture onto the bracket and screw it into place.
Step 5: Enjoy Your New Light!
That’s it! You’ve successfully installed your new LED flood light. Now sit back and enjoy all that extra light. Just be sure to turn it off when you don’t need it, so you don’t waste any energy.
Conclusion
LED flood lights are a great way to improve the appearance of your home or business. Not only do they provide more light, but they also last longer and use less energy than traditional bulbs. In this post, we’ve shown you how to install an LED flood light in just a few simple steps. Installing LED floodlights is not tricky, but there are a few things you need to know before getting started. Follow these simple instructions, and you’ll enjoy better lighting in no time! Thanks for reading!


